How to Get an eSIM in Japan for Seamless Connectivity in 2026
7/3/2026
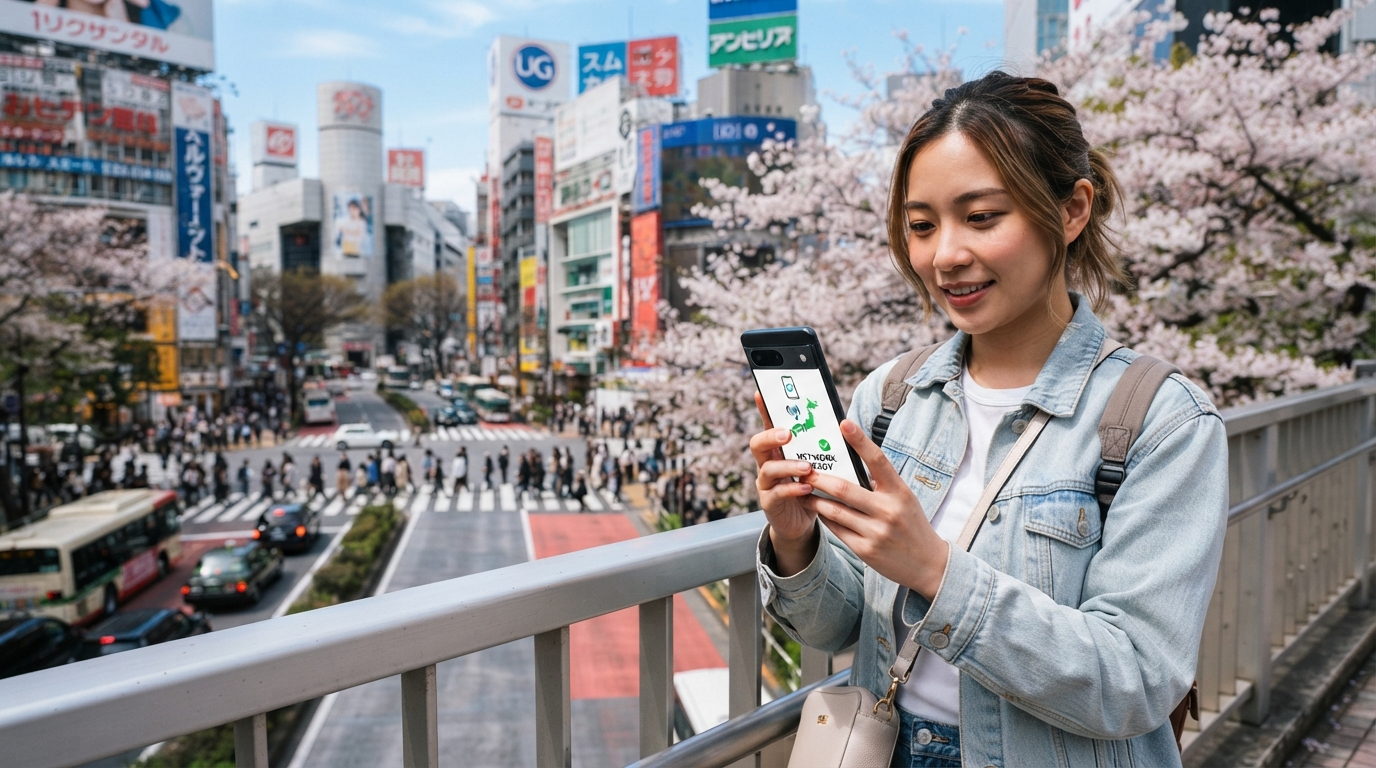
In short, what you'll discover in this article: A clear, step-by-step guide on how to get an eSIM in Japan, including phone compatibility, where to buy, activation tips, and the best providers for seamless connectivity during your trip.
1. Introduction: Why Choose an eSIM for Japan
Traveling to Japan with an eSIM offers unmatched convenience compared to traditional physical SIM cards. You avoid the hassle of swapping cards, reduce the risk of losing your SIM, and can activate your plan instantly.
The flexibility to switch carriers without changing hardware makes the eSIM ideal for tourists who want reliable internet access for navigation, translation apps, and staying connected with loved ones.
2. Is Your Phone Compatible?
Before diving into how to get an eSIM in Japan, it’s crucial to confirm your device supports eSIM functionality.
2.1 List of Compatible iPhone and Android Models
Most recent smartphones support eSIMs, but compatibility varies:
- iPhones: iPhone XS and later models (including iPhone SE 2020 and newer) support eSIM.
- Android: Many Google Pixel models (Pixel 3 and newer), Samsung Galaxy S20 and later, and select models from OnePlus and Huawei support eSIM.
2.2 How to Check Carrier Lock and OS Version Requirements
To ensure smooth activation:
- Verify your phone is unlocked or compatible with Japanese carriers.
- Update your operating system to the latest version since eSIM support often requires recent OS updates.
- On iPhone, go to Settings > General > About to check carrier lock status.
- On Android, check carrier lock status in Settings > Network & Internet or consult your provider.
3. Options for Getting an eSIM in Japan (Overview)
There are several ways to obtain an eSIM for Japan depending on your preferences and timing.
3.1 Buy Before Departure (International Providers) — Pros and Cons
Purchasing an eSIM online before your trip is convenient. Providers like Airalo allow you to download the eSIM profile via their app immediately after purchase.
Advantages:
- Instant activation upon arrival.
- Avoid language barriers.
- Compare plans easily.
Disadvantages:
- Limited local phone number options.
- Data packages may be smaller or more expensive than local plans.
3.2 Buy at the Airport or Stores in Japan — Options and Costs
You can purchase an eSIM at major airports like Narita or Haneda from kiosks or electronics stores.
Pros:
- Local plans with better coverage.
- Physical assistance if needed.
Cons:
- Potential language barriers.
- Longer queues or limited stock.
- Usually higher prices than online pre-purchase.
3.3 Subscribe with a Japanese Carrier (Residents) — Procedure and Documents Required
For longer stays or residents, subscribing directly with carriers like NTT Docomo or SoftBank is possible but involves:
- Providing identification documents (passport, residence card).
- Signing contracts that may require Japanese language proficiency.
- Visiting physical stores.
This option is less practical for short-term tourists but offers comprehensive coverage and local phone numbers.
4. Quick Comparison of Top Providers for Tourists
When choosing the best eSIM providers in Japan, consider:
4.1 Price, Data Included, Duration, Coverage
Providers offer various plans ranging from daily to monthly data packages with different data caps. Coverage typically relies on networks like NTT Docomo or SoftBank ensuring wide reach across cities and rural areas.
4.2 Promo Codes and Deals
While some platforms occasionally offer discounts, always check the provider’s official site or trusted sources for current promotions before purchasing.
For detailed comparisons of plans tailored for tourists, visit japantravelesim.com/blog/japan-travel-esim.
5. Step-by-Step Guide: How to Activate an eSIM (iPhone and Android)
Activating your eSIM is straightforward once you have purchased a plan.
5.1 Purchase Plan and Receive QR Code / Activation Code
After buying your plan online or in-store, you will receive a QR code or activation code via email or app.
5.2 Installation Steps on iPhone
- Open Settings > Cellular > Add Cellular Plan.
- Scan the QR code provided.
- Follow prompts to label your plan (e.g., “Japan Travel”).
- Set default line preferences if using dual SIMs.
5.3 Installation Steps on Android + Generic Tips
Activation steps vary by manufacturer but generally:
- Go to Settings > Network & Internet > Mobile Network > Advanced > Carrier > Add Carrier.
- Scan the QR code or enter activation details manually.
- Confirm activation and assign data/call preferences.
Tips:
- Restart your device after installation.
- Ensure airplane mode is off during setup.
- Keep Wi-Fi enabled if cellular data doesn’t connect immediately.
6. Settings and Management: Switching Between eSIM and Physical SIM
Managing multiple SIMs is easy:
- Choose which SIM handles data usage under cellular settings.
- Assign voice calls/SMS preferences per line.
- Prioritize data usage on the eSIM while keeping physical SIM active for local calls if needed.
7. Coverage and Performance: What to Expect in Japan
Japan’s major networks offer excellent coverage in urban centers like Tokyo, Osaka, Kyoto, and popular tourist spots such as Mt Fuji.
7.1 Cities vs Rural Areas / Islands / Mountains
While cities enjoy fast LTE/5G speeds with stable connections, some remote islands or mountainous regions may experience weaker signals or slower speeds depending on the carrier’s network reach.
8. Common Issues and Troubleshooting
Some travelers face activation errors or no data connection after installing their eSIM:
8.1 Activation Errors
- Double-check QR code validity.
- Confirm device compatibility.
- Restart phone after scanning QR code.
8.2 No Data Connection
- Verify cellular data is enabled for the new plan.
- Toggle airplane mode on/off.
- Reset network settings if problems persist.
8.3 Profile Conflicts
If multiple profiles cause conflicts:
- Remove unused profiles under cellular settings.
- Contact provider support for assistance.
9. Conclusion and Pre-departure Checklist
Choosing an eSIM for Japan simplifies staying connected without juggling physical SIM cards during your trip.
9.1 Summary of Best Options by Trip Length
- Short trips: Pre-purchase international provider plans for instant activation.
- Longer stays: Consider local Japanese carrier subscriptions if feasible.
- Airport purchases offer last-minute convenience but may cost more.
9.2 Pre-departure Checklist
- Confirm your phone’s eSIM compatibility and unlock status.
- Purchase your preferred plan early if possible; save QR code securely.
- Backup physical SIM or VOIP options as fallback.
- Familiarize yourself with activation steps specific to your device model.
For more detailed insights on affordable data plans tailored for tourists in Japan, explore japantravelesim.com/blog/japan-data-plan-for-tourists.
By preparing ahead with the right information about how to get an eSIM in Japan, you’ll enjoy seamless connectivity throughout your adventure without unexpected hassles or costs.
Airalo’s Japan eSIM store offers a user-friendly app that lets you purchase and manage your eSIM conveniently before departure—ideal for travelers seeking hassle-free internet access from day one of their trip.
FAQ
How do I check if my phone supports eSIM in Japan?
To check eSIM compatibility, verify your phone model supports eSIM (iPhone XS or newer, Pixel 3 or newer, etc.). Also, ensure your device is unlocked and updated to the latest OS version. Check carrier lock status in your phone’s settings before traveling.
Where can I buy an eSIM for Japan before my trip?
You can purchase an eSIM online from international providers like Airalo before departure. This allows instant activation upon arrival and avoids language barriers. Simply download the eSIM profile via their app after purchase.
What are the benefits of buying an eSIM at Japanese airports?
Buying an eSIM at airports like Narita or Haneda offers local plans with better coverage and in-person assistance. However, prices may be higher, and you might face language barriers or longer wait times compared to pre-purchasing online.
How do I activate an eSIM on my iPhone or Android device?
After purchasing, scan the QR code in your phone’s cellular settings to add the plan. On iPhone, go to Settings > Cellular > Add Cellular Plan; on Android, navigate to Network & Internet > Mobile Network > Add Carrier. Restart your device if needed.
What should I do if my eSIM has no data connection in Japan?
If you experience no data, first ensure cellular data is enabled for the eSIM plan. Toggle airplane mode on and off, restart your phone, and if issues persist, reset network settings or contact your provider for support.

Sakura Tanaka
Sakura is a Japan travel writer. At Japan eSIM she compares NTT Docomo, SoftBank and au plans for visitors exploring Tokyo, Kyoto and beyond.