How to Buy and Activate an eSIM at Japan Airport in 2026
7/5/2026
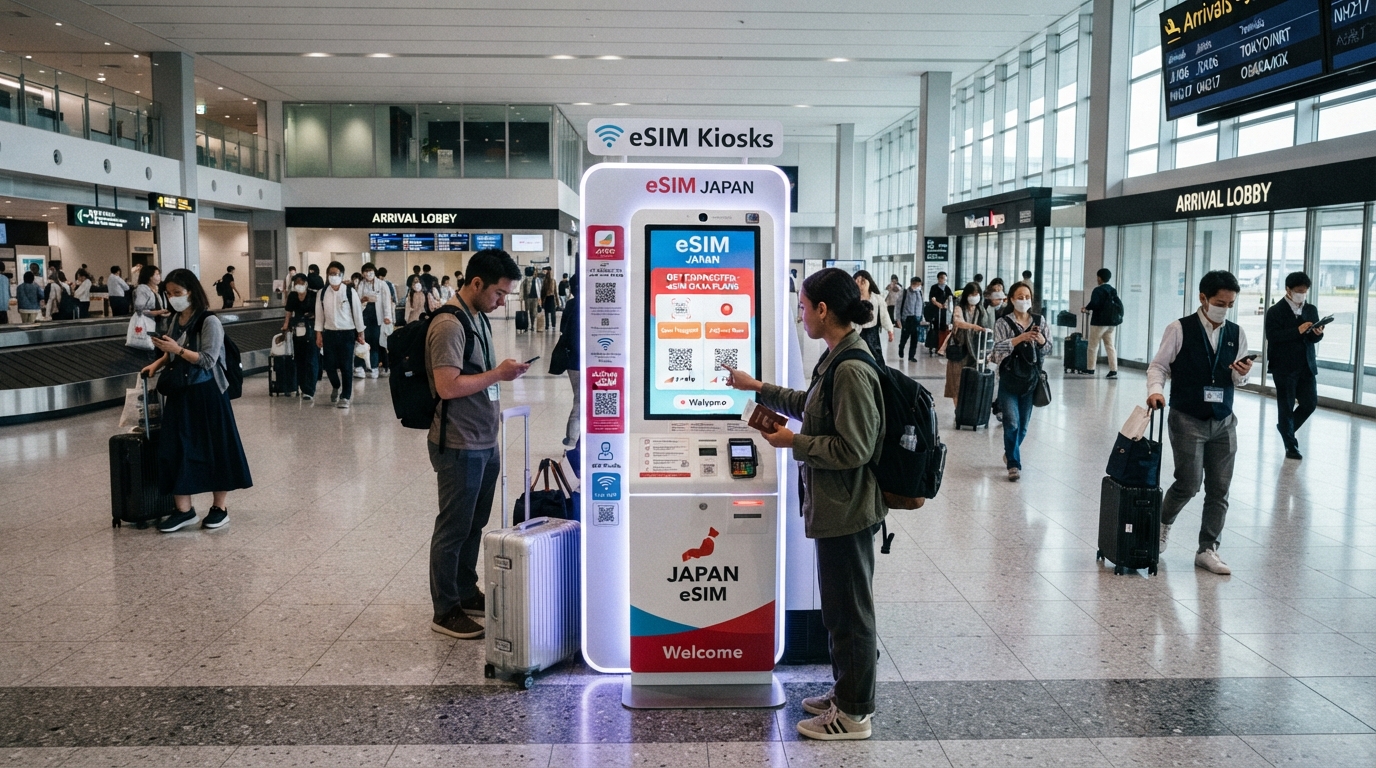
In short, what you'll discover in this article: How to conveniently buy and activate an eSIM at Japanese airports for instant mobile data access. Learn which airports offer eSIM services, the best providers, activation steps, and practical tips to stay connected seamlessly upon arrival.
1. Why Buy an eSIM at the Airport in Japan?
Purchasing an eSIM Japan airport plan offers travelers immediate connectivity without the hassle of finding physical SIM cards or relying on unpredictable Wi-Fi spots. Airports like Haneda and Narita provide easy access to prepaid eSIMs, allowing you to activate your mobile data right after landing.
This convenience is especially valuable for tourists who want to navigate, communicate, and explore Japan stress-free from the start.
Using an eSIM eliminates the need for swapping physical cards and supports multiple devices with compatible smartphones. It also often provides better coverage through major Japanese carriers such as NTT Docomo, SoftBank, and au.
For those seeking the fastest eSIM connection in Japan airport terminals, options with instant activation are available online or at airport counters.
2. Before Departure — Preparation and Compatibility
2.1 Check Your Device Compatibility (iPhone, Android, OS Versions)
Not all smartphones support eSIM technology. Before your trip, verify that your device is compatible with an eSIM for Japan travel.
Most recent iPhones (XS and later) and many newer Android phones support eSIM functionality. Additionally, ensure your phone’s operating system is updated to the latest version to avoid activation issues.
2.2 Documents, Payment Methods, and Settings to Prepare Before Arrival
To streamline your purchase at the airport:
- Have your passport ready for identification.
- Prepare a credit card or mobile payment method accepted at airport counters or kiosks.
- Familiarize yourself with basic phone settings related to mobile data and eSIM installation.
- Consider downloading any relevant provider apps beforehand if you plan to activate via an app.
These steps will help you avoid delays during an eSIM activation at Japan airport.
3. Where to Buy an eSIM in Japanese Airports
3.1 Main Sales Points by Airport (Narita, Haneda, Kansai, Chubu)
Major international airports in Japan offer several options for purchasing a Japan airport eSIM provider plan:
- Narita Airport (NRT): Counters and kiosks selling prepaid SIM cards and eSIMs are located in arrival halls.
- Haneda Airport (HND): Known for instant online activation options without needing to visit a counter; also has physical counters.
- Kansai International Airport (KIX): Multiple vendors provide both physical SIMs and eSIMs.
- Chubu Centrair International Airport (NGO): Offers similar services with English-speaking staff.
3.2 Service Hours, Languages, and Purchase Options (Counter vs Kiosk vs App)
Most airport counters operate during flight arrival hours with multilingual support including English. Kiosks may offer self-service options with QR codes for quick purchase.
Alternatively, some providers allow you to buy and activate your prepaid eSIM for Japan airport entirely online before or immediately after arrival via their mobile apps.
4. Choosing the Right eSIM Plan (Duration, Data Volume, Coverage)
4.1 Short-Term vs Multi-Country Plans — What Criteria to Consider
When selecting a plan:
- Decide on the duration of your stay: short-term plans (1–7 days) are ideal for brief visits.
- Evaluate data volume needs based on your usage—navigation apps require less data than streaming.
- Check coverage maps; plans using NTT Docomo networks often provide the broadest coverage across Japan.
- Consider multi-country plans if traveling beyond Japan.
For example, providers like Roamic or Yesim offer competitive packages with discounts via promo codes such as MYBESTSIM20 for savings on unlimited data plans.
5. Step-by-Step Guide to Activating Your eSIM at the Airport
5.1 Activation via QR Code
After purchase, you’ll receive a QR code either printed or sent digitally. To activate:
- Open your phone’s settings.
- Navigate to “Cellular” or “Mobile Data” > “Add Cellular Plan.”
- Scan the QR code provided.
- Follow on-screen instructions to complete installation.
5.2 Activation Through Provider Apps
Some providers enable activation through their dedicated apps:
- Download the app before arrival if possible.
- Purchase or redeem your plan inside the app.
- Follow prompts for automatic profile installation.
5.3 Verify Connection and Configure APN if Needed
Once installed:
- Ensure your phone connects to the new network.
- If no connection occurs, manually configure APN settings as instructed by your provider.
- Restart your device if necessary.
6. Common Troubleshooting and Quick Fixes
6.1 Frequent Errors and How to Resolve Them (Profile Not Installed, No Network, SIM Conflicts)
Typical issues include:
- Profile not installed: Retry scanning QR code or reinstall via app.
- No network: Check airplane mode is off; confirm APN settings.
- Conflicts with existing SIM: Disable physical SIM temporarily or select preferred line in settings.
6.2 When to Request Refunds or Reissues
If activation fails repeatedly or data does not work as promised:
- Contact customer service immediately.
- Request a refund or reissue of the eSIM profile if eligible.
7. Alternatives to eSIM at the Airport (Pocket Wi-Fi, Physical SIMs, Operator Roaming)
If you prefer not to use an eSIM:
- Pocket Wi-Fi devices can be rented at airports offering unlimited data but require carrying extra hardware.
- Physical SIM cards remain widely available but may involve longer queues.
- Roaming through your home operator is convenient but often expensive.
8. Practical Tips Upon Arrival to Optimize Your Connection
8.1 Recommended Settings, Data Usage Management, Tethering
To maximize your Japan airport mobile data eSIM experience:
- Enable data roaming only after activation.
- Monitor data consumption via phone settings to avoid unexpected charges.
- Use tethering responsibly if sharing connection with other devices.
9. Useful Resources and Contacts (Hotlines, Provider Links, Airport Maps)
For assistance:
- Refer to official airport websites for kiosk locations and hours.
- Contact provider hotlines listed on purchase receipts or websites.
- Use japantravelesim.com/blog/esim-japan for comprehensive guides on top eSIM plans in Japan.
10. Downloadable Checklist for Buying and Activating Your eSIM at the Airport
To prepare efficiently:
- Confirm device compatibility.
- Have passport and payment ready.
- Choose preferred provider based on coverage and price.
- Decide between counter purchase or online activation.
- Scan QR code or use app immediately upon arrival.
- Verify connection before leaving airport area.
Following this checklist ensures a smooth start to your trip with reliable internet access from touchdown.
11. Conclusion
Buying an eSIM Japan airport plan is a smart choice for travelers seeking hassle-free connectivity upon arrival in Japan’s major airports like Haneda and Narita. With clear preparation steps, multiple purchase options, and easy activation methods including QR codes and apps, staying connected has never been simpler.
For best deals and detailed comparisons of top-rated providers such as Roamic and Yesim with exclusive promo codes like MYBESTSIM20, consult trusted sources like MyBestSim before you travel.
Stay connected effortlessly from the moment you land!
FAQ
Which Japanese airports offer eSIM purchase options?
Major airports like Narita, Haneda, Kansai, and Chubu provide eSIM purchase options through counters, kiosks, or online activation. These locations support instant activation to ensure travelers have mobile data immediately upon arrival.
How do I activate an eSIM after buying it at the airport?
Activation typically involves scanning a QR code via your phone’s settings under 'Add Cellular Plan.' Some providers also offer app-based activation for a smoother setup. Follow on-screen instructions and verify your connection before leaving the airport.
What should I prepare before buying an eSIM in Japan airports?
Ensure your device supports eSIM technology and is updated. Bring your passport and a valid payment method. Familiarize yourself with mobile data settings and consider downloading provider apps in advance to speed up activation.
Are short-term eSIM plans suitable for tourists in Japan?
Yes, short-term plans ranging from 1 to 7 days are ideal for tourists. They offer sufficient data for navigation and communication without long-term commitment. Choose plans with good coverage, often using NTT Docomo networks, for reliable service.
What alternatives exist if I don’t want to use an eSIM at the airport?
Alternatives include renting pocket Wi-Fi devices, purchasing physical SIM cards, or using international roaming from your home carrier. Each option has trade-offs like extra hardware or higher costs compared to the convenience of eSIMs.

Sakura Tanaka
Sakura is a Japan travel writer. At Japan eSIM she compares NTT Docomo, SoftBank and au plans for visitors exploring Tokyo, Kyoto and beyond.